|
|
Post by f143 on Nov 4, 2014 21:29:26 GMT -5
Many thanks Andi, I'm sure it helps others too, seeing your excellent skills in this build.
Nigel
|
|
|
|
Post by Andrew Rowland on Nov 18, 2014 3:04:16 GMT -5
I've taken a short break in the build to a) design a March 701 and b) rethink the rear end and how it gets fixed. All that has led to my having to cut the gearbox in half and fix the rear end to the motor pod. In that way the body will be able to resonate freely but assembled it should still look good. 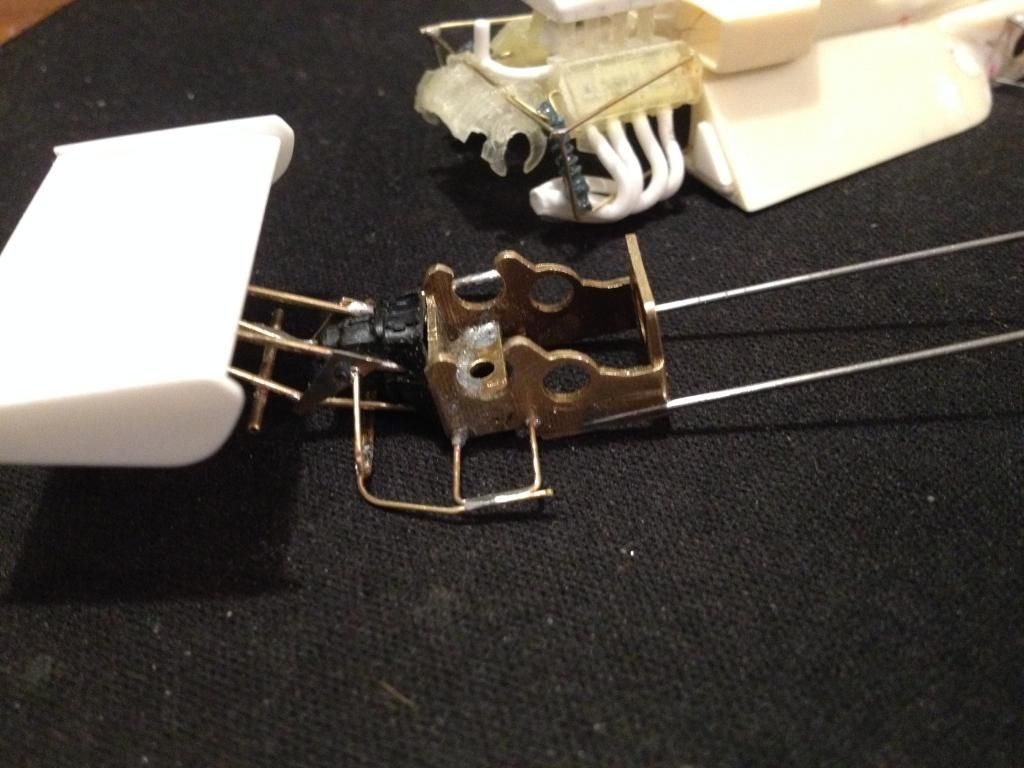 This also meant i had to rethink the lower links and anti roll bar.... 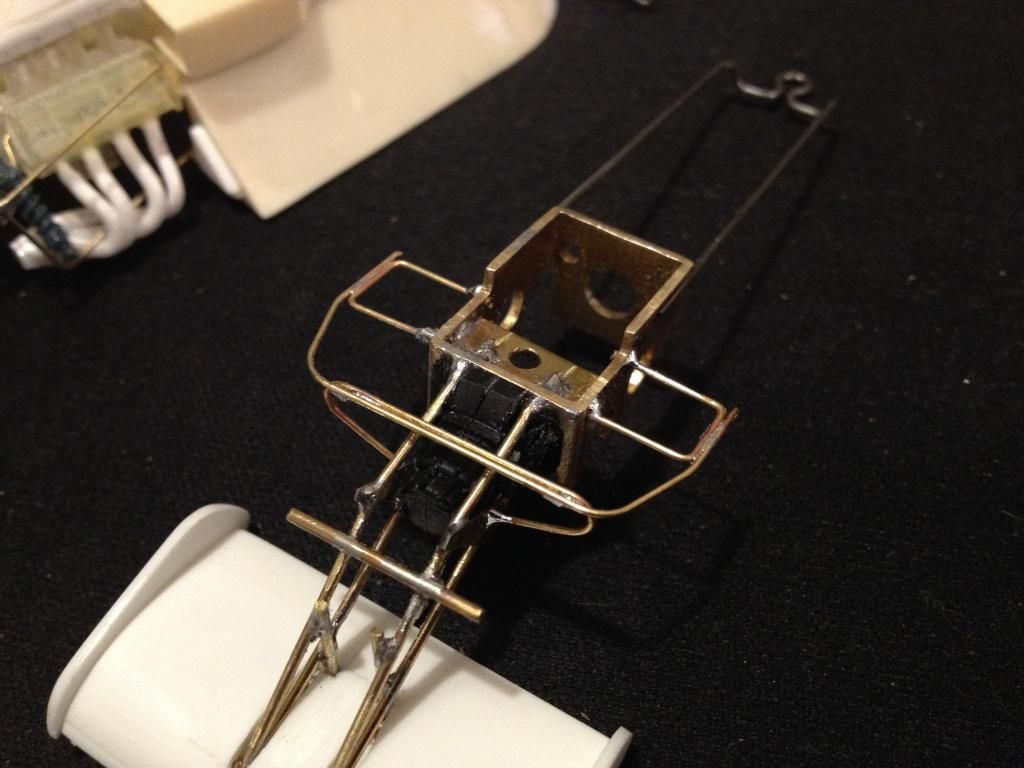 But the result is not bad. This is how it will look assembled.  |
|
|
|
Post by Andrew Rowland on Dec 15, 2014 16:39:50 GMT -5
Well its taken a LOT of work and there is a hundred things i'm not happy with but here we are through the tricky painting job! 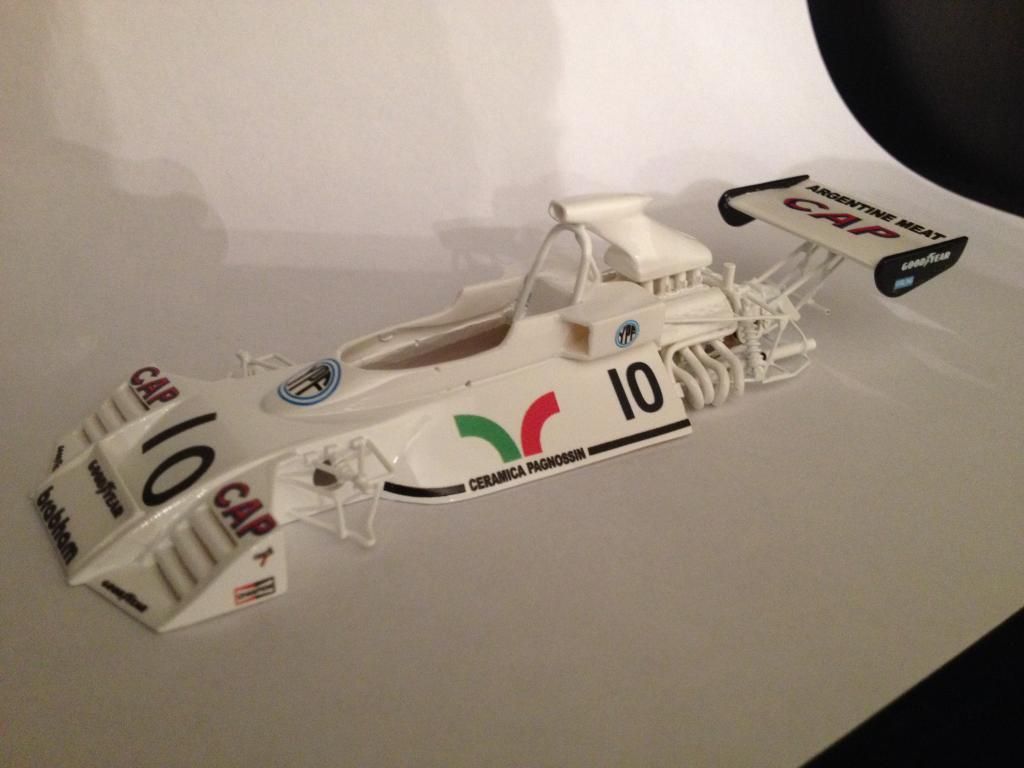 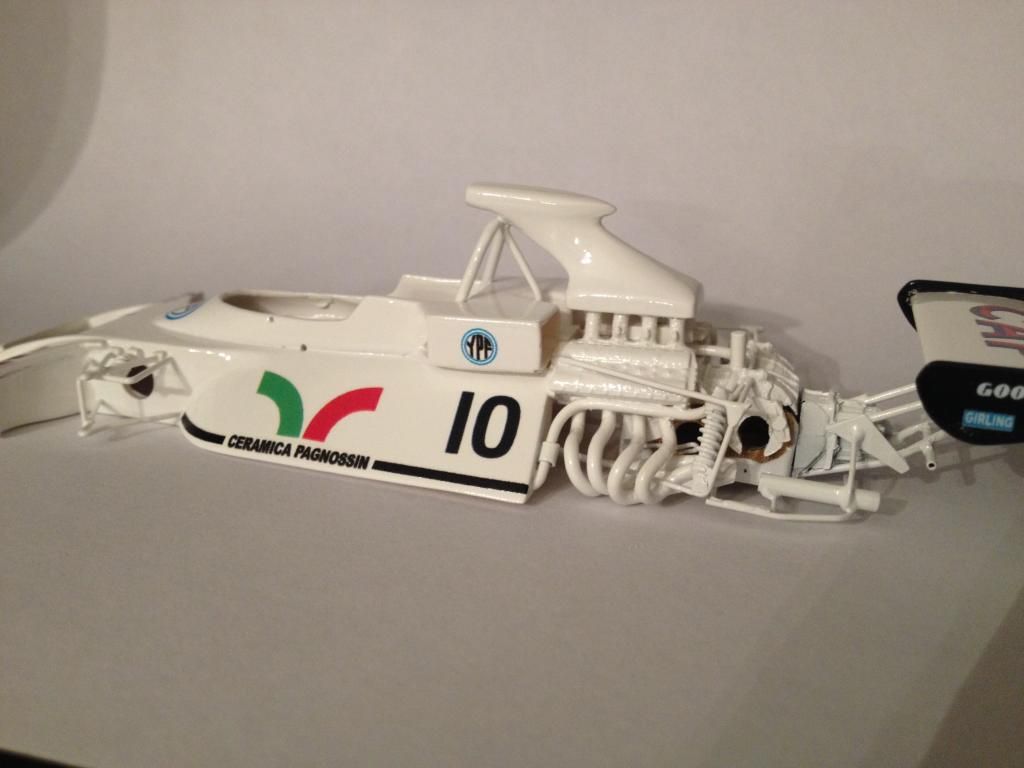 |
|
|
|
Post by David Mitcham on Dec 16, 2014 15:47:46 GMT -5
Hi Andi
The paintwork looks superb! I'm interested to see you spray the entire car and put on the decals before painting and detailing the suspension and engine How do you protect the body work whilst doing the latter?
Best Regards
David
|
|
|
|
Post by Andrew Rowland on Dec 16, 2014 16:24:04 GMT -5
Hi David, i like to spray everything as it helps even any roughness in the engine detail. After decals I like to use Tamiya clear gloss. The secret, to avoid melting Pattos decals is two mist coats 15 mins apart. Wait an hour then another two must coats. Then wait 12 hours and apply a good coat for the gloss finish. Its tAken me years to work that out....
Now I can hand paint all the detail colours and add mirrors etc.
You can't easily gloss on top of the hand painted stuff as the spray melts the hand paint!!
Cheers
Andi
|
|
|
|
Post by Andrew Rowland on Jan 8, 2015 16:48:31 GMT -5
|
|
|
|
Post by David Mitcham on Jan 8, 2015 16:55:07 GMT -5
Hi Andi
Superb! You've achieved a fantastic finish to the body work and the engine and suspension look great now they are painted. I'm really looking forward to seeing a grid full of these cars.
Best Regards
David
|
|
|
|
Post by pilot70 on Jan 8, 2015 17:32:49 GMT -5
Andi,
I`ve been following this superb build since the beginning, and I must say that I love it, I love it.
You know... although I was only barely 3 years old in 1973, I remember very vividly that Brabham... because our fellow countryman Lole Reutemann raced it.
The BT 42 was the beginning of the post Fangio era for Argentina`s Formula 1 fans.
I am eager to see her finished!
Regards, Dan.
|
|
|
|
Post by Brian on Jan 12, 2015 3:40:26 GMT -5
Andrew,
Beautiful build, your attention to detail is inspiring. Looking forward to seeing your car in all it's glory.
Thanks for sharing.
Brian
|
|
|
|
Post by slo on Jan 13, 2015 1:46:35 GMT -5
Superb build Andi. Extraordinary engineering and craftsmanship all round.
|
|
|
|
Post by Andrew Rowland on Jan 26, 2015 3:19:22 GMT -5
I've been having a lot of fun just scratchbuilding the little final touches like dash board, radiator's and rubber hoses... Sometimes its just so cathartic to get some bits and bobs and cut it to fit.... Given my other side of sloting is quite serious CAD design its just great to get my scalpel out!! Just a few touches shown here that has taken a couple of weeks of constant but short sessions. One thing I wanted to touch on is make-up. Not sure if anyone else uses it but i find it invaluable. Check the piston covers against the exhausts. Both painted matt black. Covers have silver eye shadow and exhausts have brown. Gives them depth and subtle colouring.... 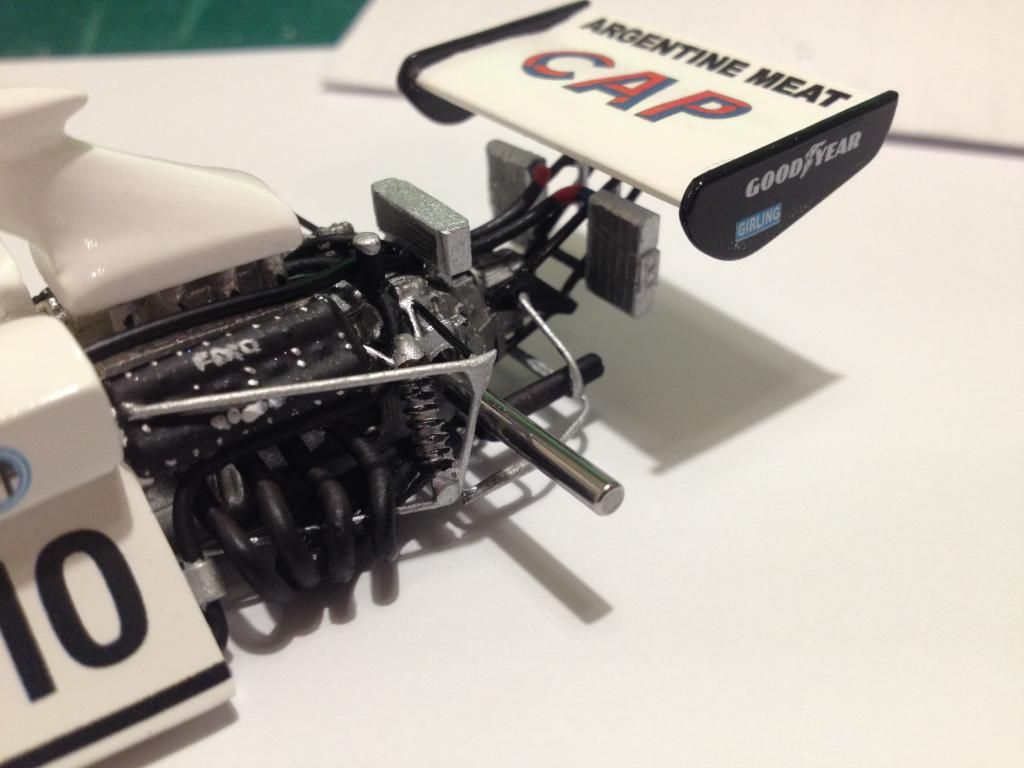  |
|
|
|
Post by David Mitcham on Jan 26, 2015 5:55:30 GMT -5
Hi Andi
Looks fantastic! I've been using the Tamiya weathering stuff which I suspect is makeup by another name. I also find my wife's sewing box quite useful at times!
Best Regards
David
|
|
|
|
Post by David Lawson on Jan 26, 2015 6:47:48 GMT -5
I also use the range of Tamiya weathering powders but mainly for mechanical bits I normally mix varying amounts of brown and silver into black or grey as well as a mix of matt and satin finishes.
David
|
|