Fly Brabham BT44 Policar conversion
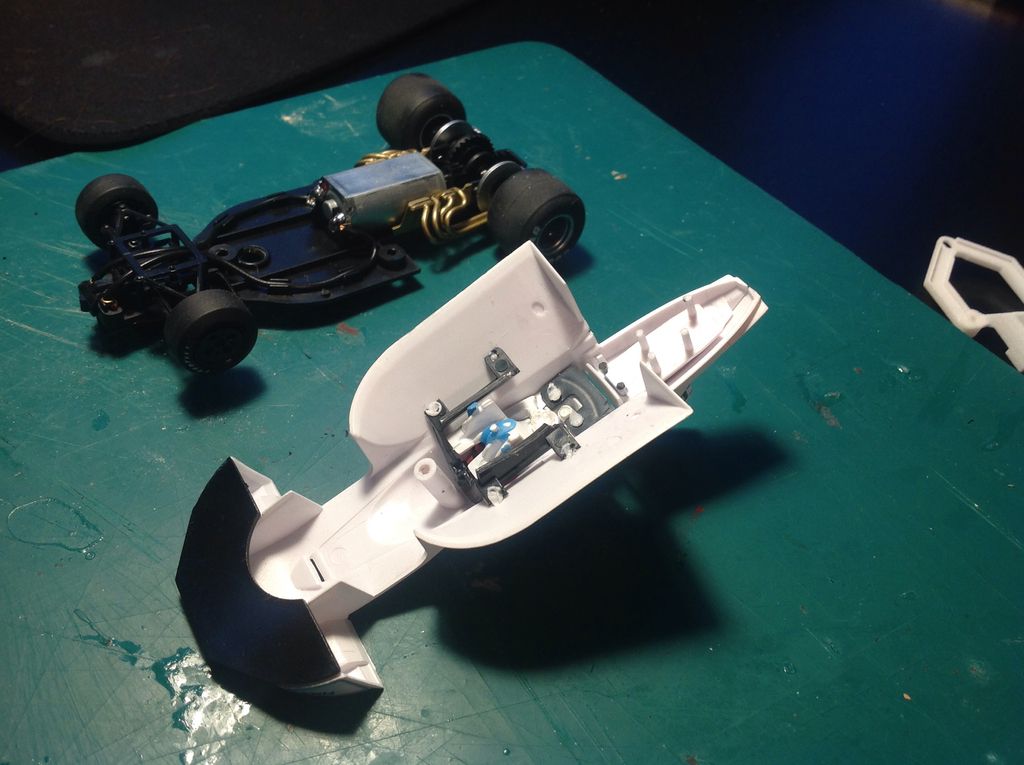
This Brabham is one of my favourites from the 1970's. The Fly donor car looks smashing but is probably slightly too large. It has been made to fit onto the March 761 chassis directly with no modification and consequently the model is about 4mm too long in the wheelbase. I have rectified that with my chassis but that effectively pushes the body backwards over the rear gearbox further than would be correct due to the large body.
The build is similar to the March 761 conversion in that it integrates the Policar engine and gearbox body parts to make the whole thing look great and remove the large drum which hides the crown gear on the donor car.
1. The parts needed for this build are:
a) A Shapeways chassis available here:
www.shapeways.com/shops/arco_chassisb) Policar parts numbers necessary:
PC-H03 - motor mount
PC-PPA01 - set of bushings
PC-PGS8018/17/16 - rear axle with gear. note choose either of the 18/17/16 denotes which gear you prefer. standard cars come with the 17 tooth version.
PC-PGI2516-PL - crown gear and spacers
PC-PPI429015 - pinion
PC-H04 - motor mount screws - The gearbox has a unique screw fixing so you will need these whatever motor you wish to use (see also below).
PWH1218-Pl - front wheels
PCs02-P2 - engine and gearbox detail pack
c) Policar parts numbers I suggest but that might be interchangeable:
PC-PMX01 - motor. Note that the Policar gearbox has a single central top threaded screw fixing position and so if you don't use this motor make sure yours has this hole and that it is correctly threaded.
PC-PPA02 - rear axle stopper - you may choose to use other types but be careful with sizes and what will fit.
PC-H05 - gearbox to chassis fixing screws - these are the correct size but other Slot.it (and potentially other) types will also fit.
d) Other parts to complete the build:
Rear wheels and tyres
I have used Ostorero Lotus 79 wheels and tyres as I have them and because they are round and grippy.
The design parameters are that they should be about 21mm dia. and 14-16mm wide. to match the ones on the model.
e) Front tyres:
I have used the original tyres from the car as they look good and mounted them onto the Policar front wheels.
An alternative I have recently found looks great is the Slot.it 1088 mould front tyres.
f) Front axle
Any normal axle should work.
g) Guide etc.
The Policar range is designed to use the Slot.it CH85 screw in pick up. Others may fit to your choice.
Wire (thin as possible is suggested.
Braids (thin).
Eyelets or grub screws to your choice.
h) A Fly Brabham BT44 donor car.
Diassembly:
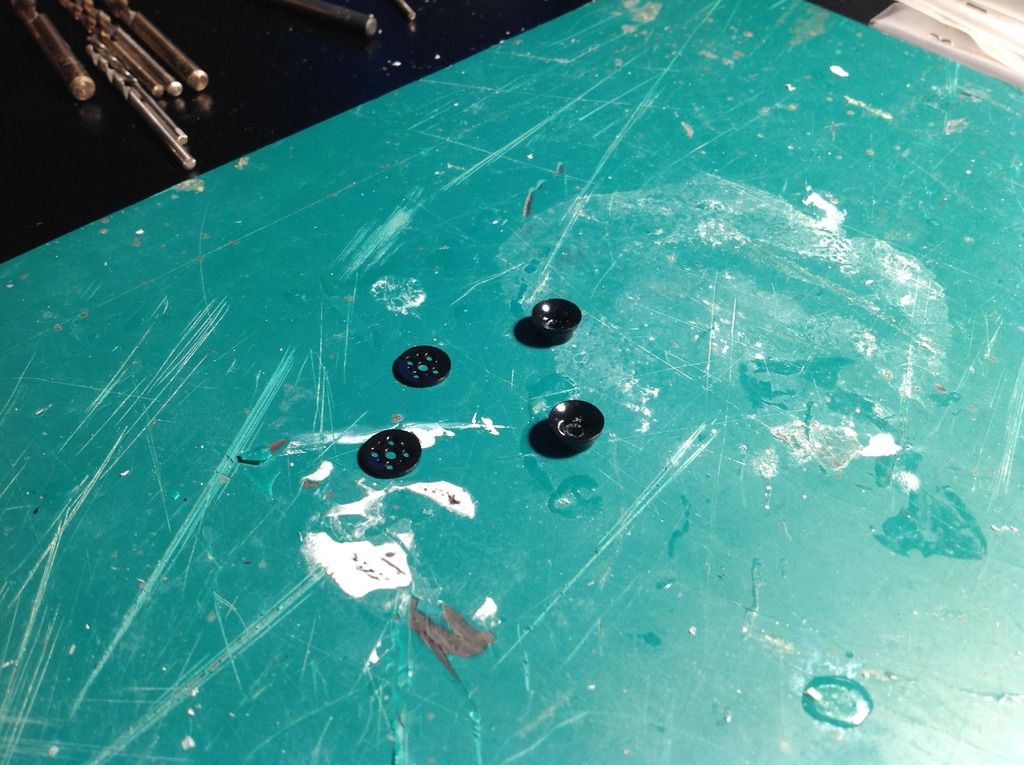
1. Start by removing the body and rear wing mounting screws in the normal way. Set aside the screws for future use.
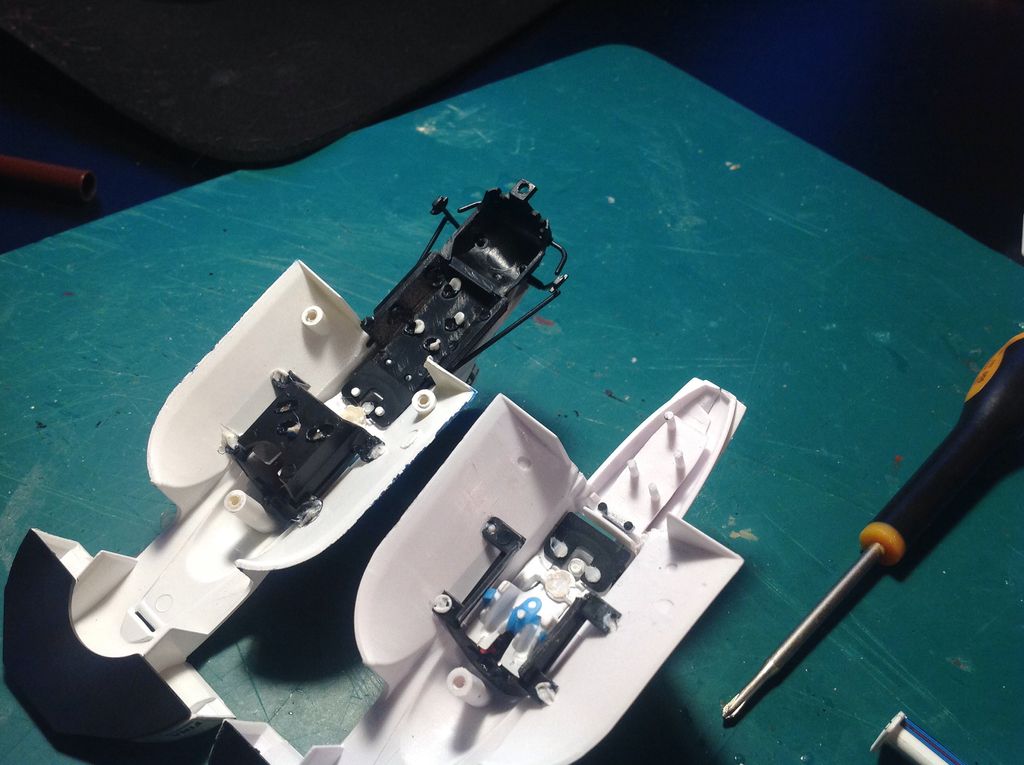
2. Now we need to take apart some of the body parts but without breaking them or the thin plastic pins that hold them together
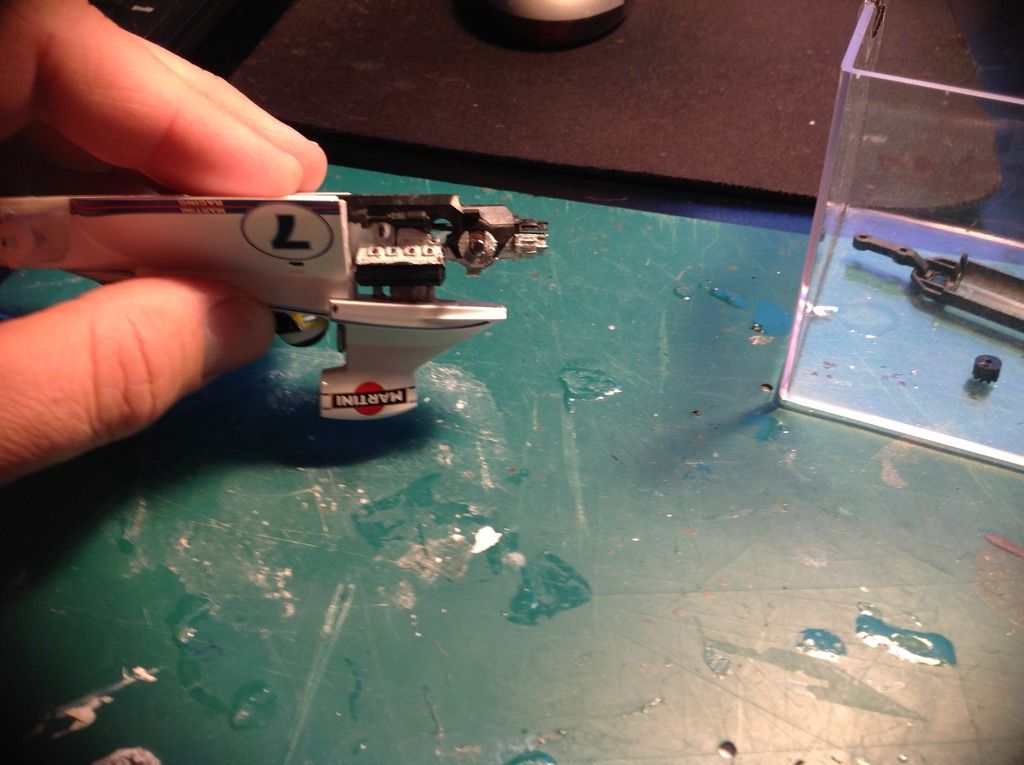
I use a scalpel with sharp 10A blade to cut the top of the soldered joint off. Essentially you need to cut a small donut of plastic weld off to reveal the cylindrical pin underneath.
There are four that need to be cut off under the airbox in order to release the engine cover from the body and another two to release the roll over bar from the same engine cover. Once cut out the whole engine and gearbox cover part can be removed.
Next you need to cut out a portion of the bottom of the driver's seat. This will remove all support for the driver but leave him floating in place and we will fix him later.
Once these parts are removed the body will look like the left hand body in this comparison shot:
NOTE:
During final assembly I found that had not cut off quite enough for the soldering pins. With a dremel I carefully sanded out some more of the black material as shown here:
Now cut down the original two side body mounting pillars. Cut them down flush with the sloping sides of the inside of the body. I used a scalpel but a dremel can also be used.
Sub assembly:
1. Now we can turn to assembly of the Policar DFV and Hewland gearbox. This should be self explanatory. Be careful to dry fit parts before gluing to ensure any moulding swarf is removed. There is an excellent description of this assembly on the
www.policar.it website.
Take car NOT to assemble the air intake trumpets until they have been trimmed. This diagram shows how these two pieces need to be trimmed for this build:
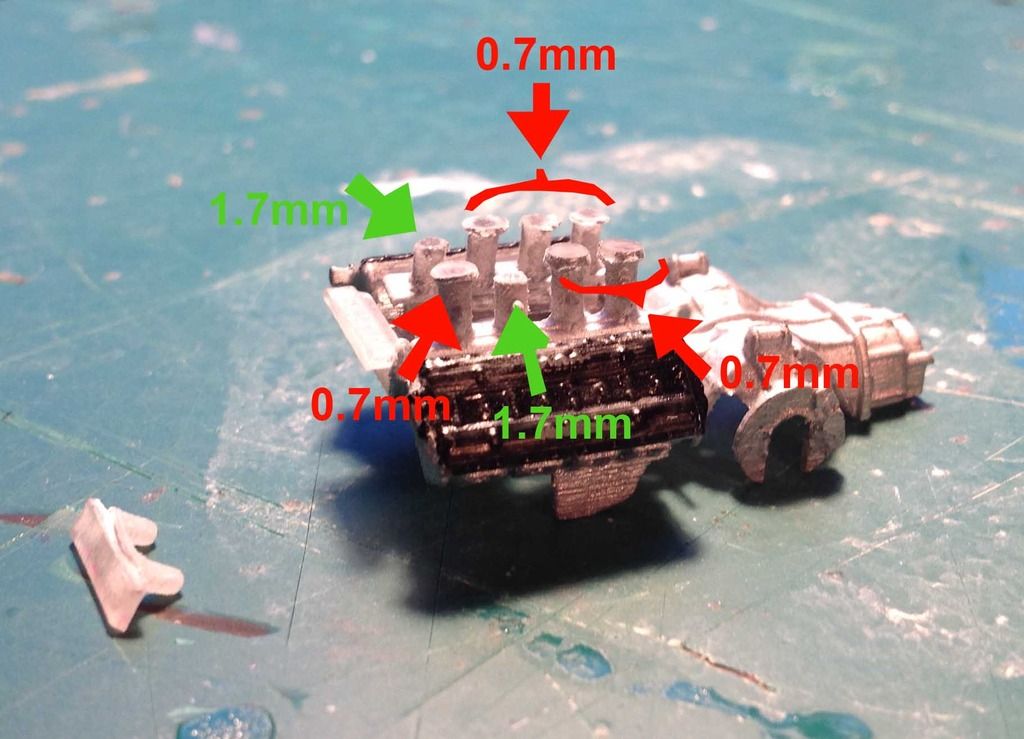
The measurements noted are what the computer says should work. Actually due to the slight inconsistencies in the fixing of the original fly air box slightly more (or potentially less) may be needed. I actually found that by assembling the whole thing I could trial fit the parts until everything aligned perfectly and used a dremel cutting disk to sand each on until it fitted. Due to the upwards slope of the airbox I found the front ones needed more sanding than the rear. We will return to this later.
You will also need to cut off the flat part at the front of the engine with the two pins as shown to the left of the photo above.
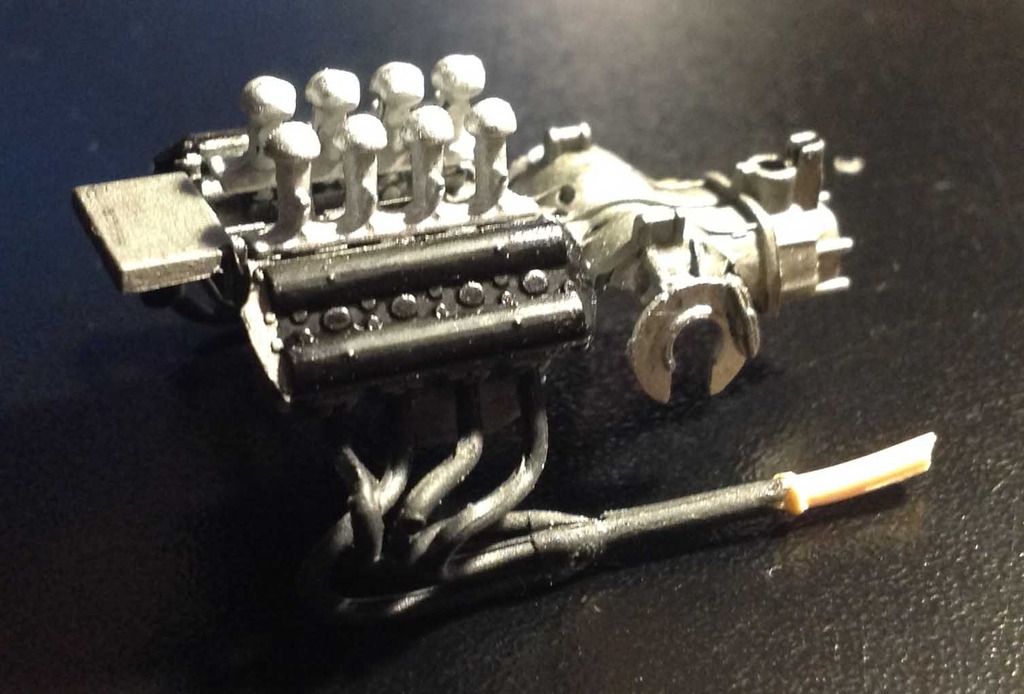
2. I painted up the engine using metallic grey for the engine block and gearbox and silver for the air intake trumpets. If you are careful the basic black is fine for the rocker covers and the exhausts although i'm sure people will use their own colour schemes.
I picked out some bolts on the rocker covers with silver too and aim to add some 'Ford' decals to them too although haven't done so yet....
(Note this is a library photo without air intake trumpets cut down.)
3. The exhausts are best assembled first then added to the engine. My actual build does not show the exhausts.
4. I took a part from Policar pack PCS02-P3 to complete the exhausts but I suggest a bit of brass rod inside some plastic tube or some plastic tube as shown in the photos will be adequate. You can even use a bit of drinking straw or maybe parts from the donor Fly model.
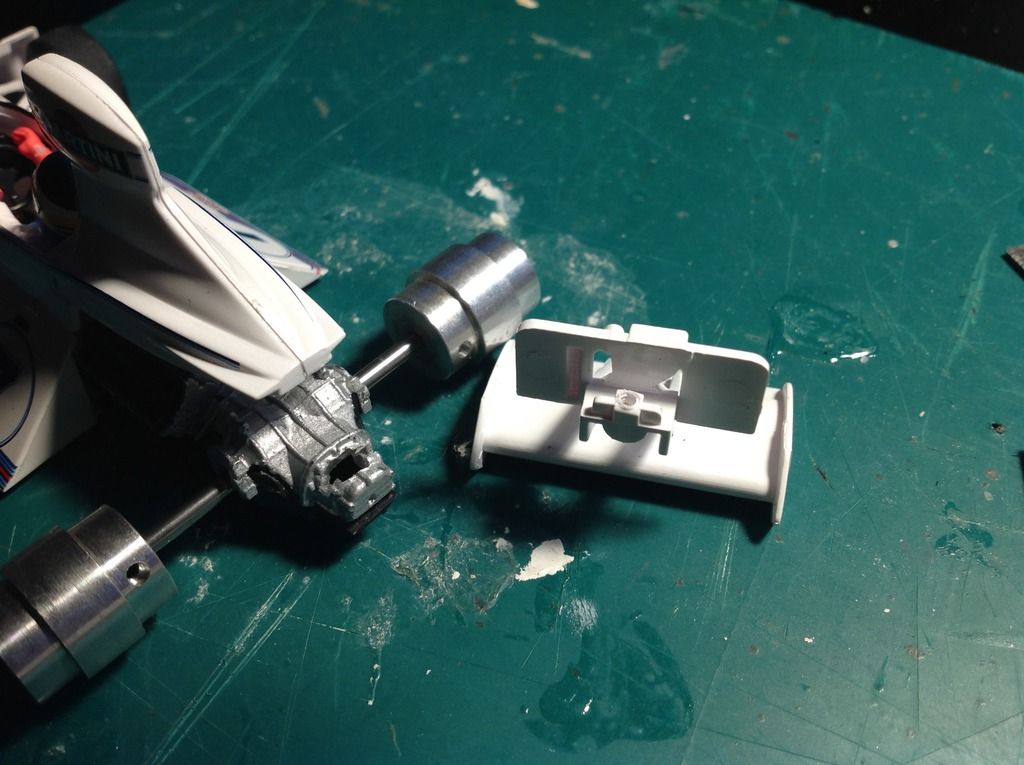
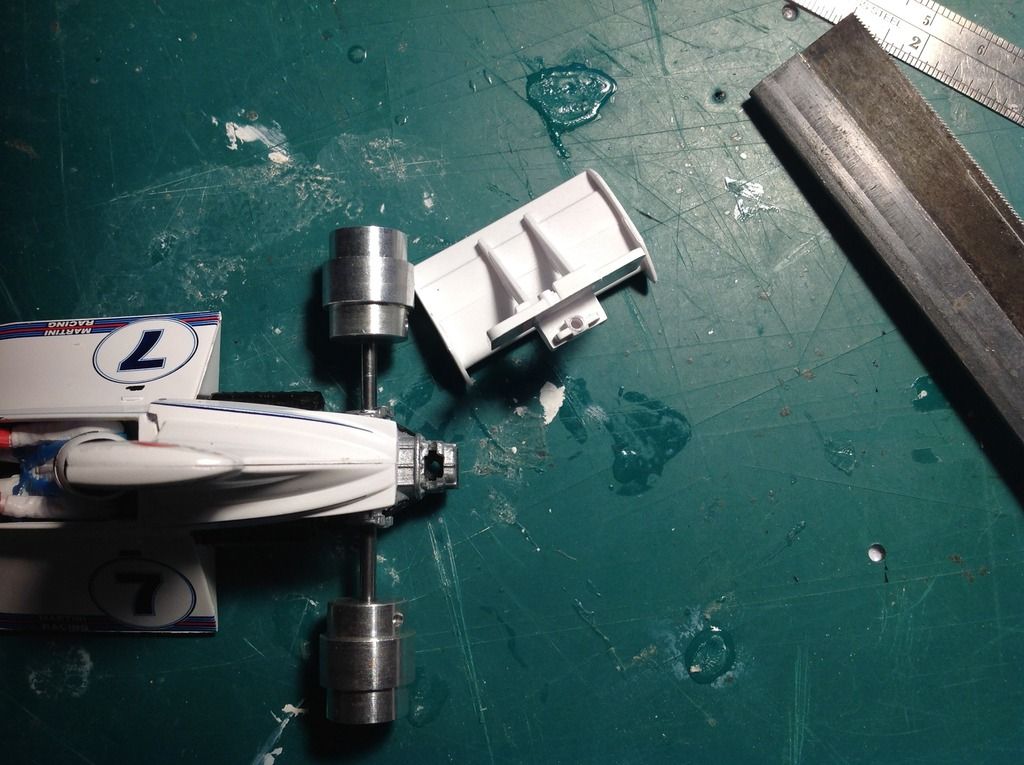
5. Now take the 3D printed chassis. You will see there are two parts joined as one with three thin vertical columns at the three screw mounting points. Cut the columns off flush with the chassis and then trim them off the top section too.
6. One part we will call the bridge mount and the other the chassis.
7. Take the bridge mount and slide it into the bottom of the airbox. The four smaller holes in the bridge mount should align with the our pins in the underside of the airbox. Ensure this is fully pushed up into the underside of the airbox. If this fouls the driver's seat fixings in any way (I have allowed clearance but it is possible that the plastic welds might be large in some cases) cut the welds down so that the front of the bridge mount sits comfortably onto the front mounting post without strain. Weld the four pins in using a soldering iron or similar. The pins are very long so with care they might be shortened prior to welding.
8. The roll over bar fits tight into the body so will be in position. If it has risen slightly while you have dry fitted things push it down gently from above so that its pins fit into the two slotted holes for them. Carefully spot weld these in place. A tiny weld is all that is necessary as this part essentially holds itself.
9. The driver can now be glued in onto the shelf of the top of the bridge mount. A dab of CA glue should do this. The 3D printing material is very porous so avoid very thin glues (like the one I am using!).
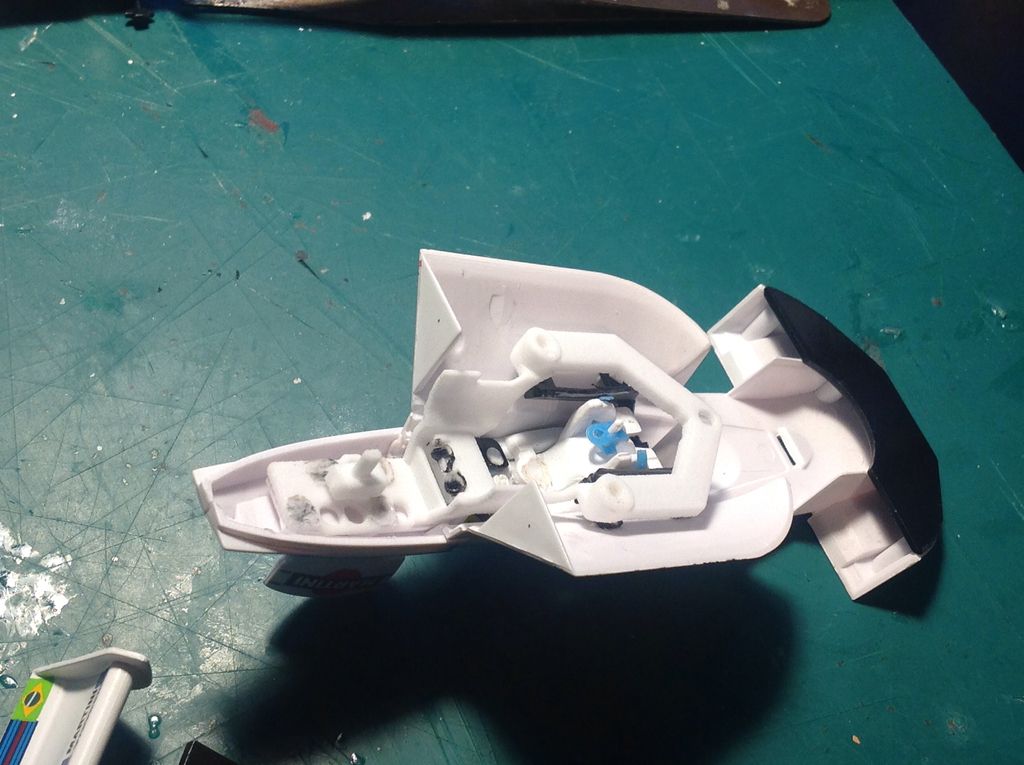
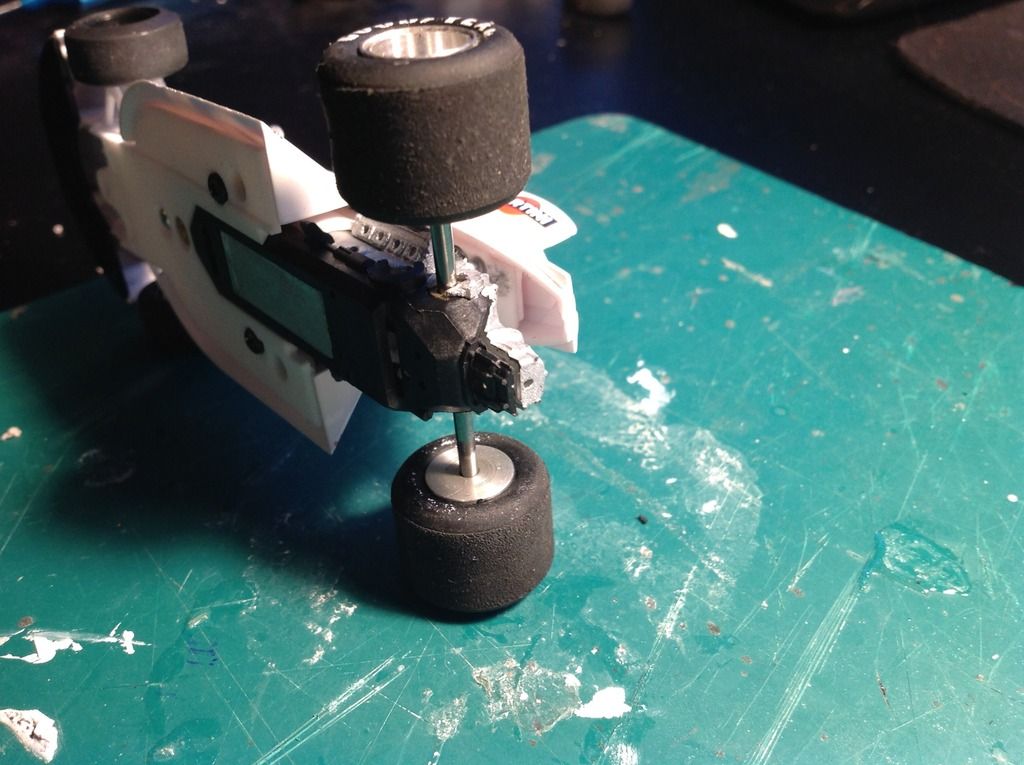
10. Now take the gearbox top / engine and dry fit it by pushing it up under the airbox:
(Do not glue / solder at this point, just make sure it all fits dry).
It should look like this:
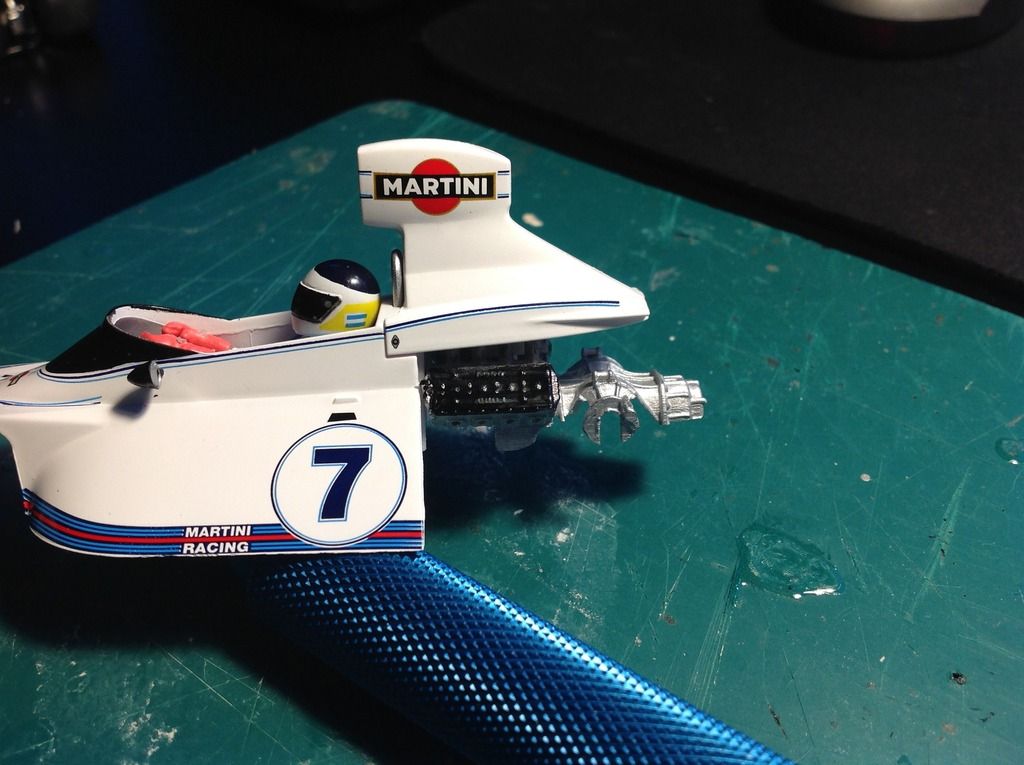
Main Body:
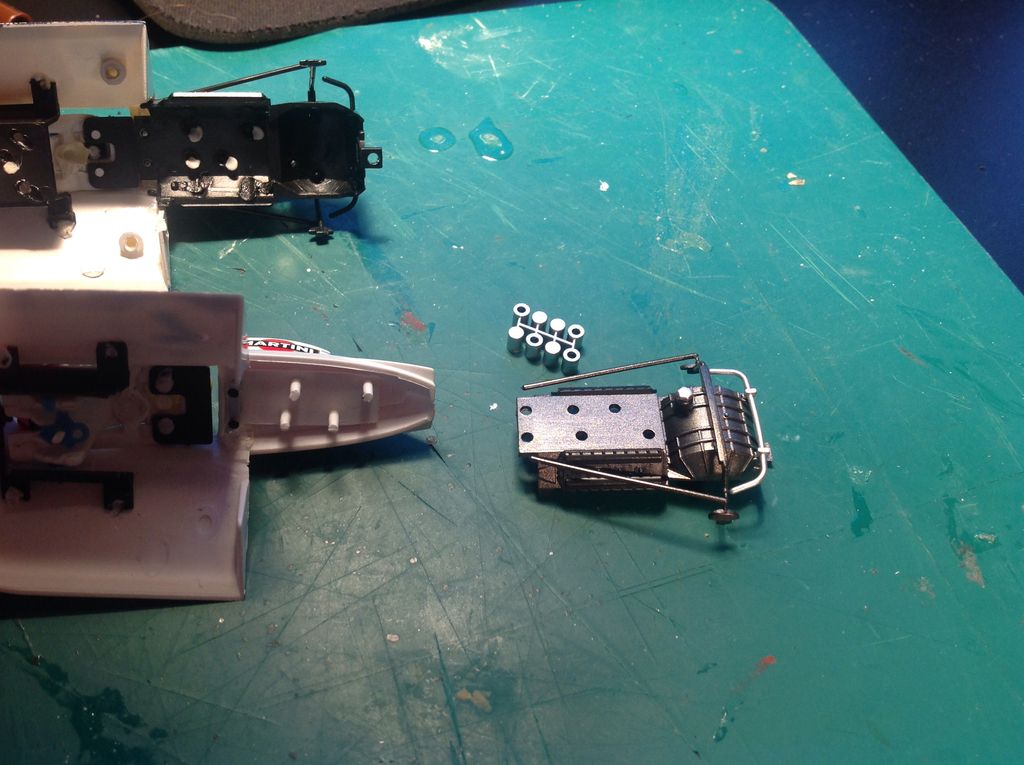
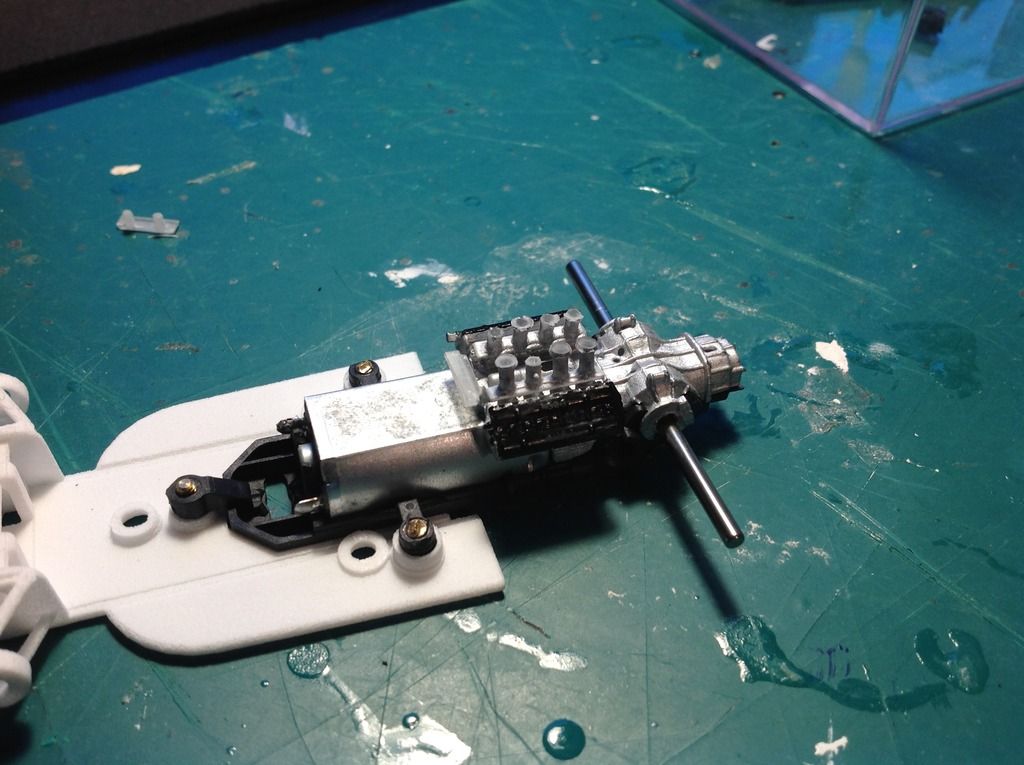
1. Assemble the Policar gearbox (as per instructions on the website).
2. Cut off the front most of the two mounting holes.
(See photo below).
3. Chamfer slightly the cut edges of the side mounting screws so the mount sits inside the sloping body sides. Do not cut off too much to avoid weakening the plastic.
4. Screw the complete gearbox assembly to the chassis.
15. Dry fit the whole assembly to ensure it all fits snugly before screwing together. This avoids forcing and potentially breaking any parts.
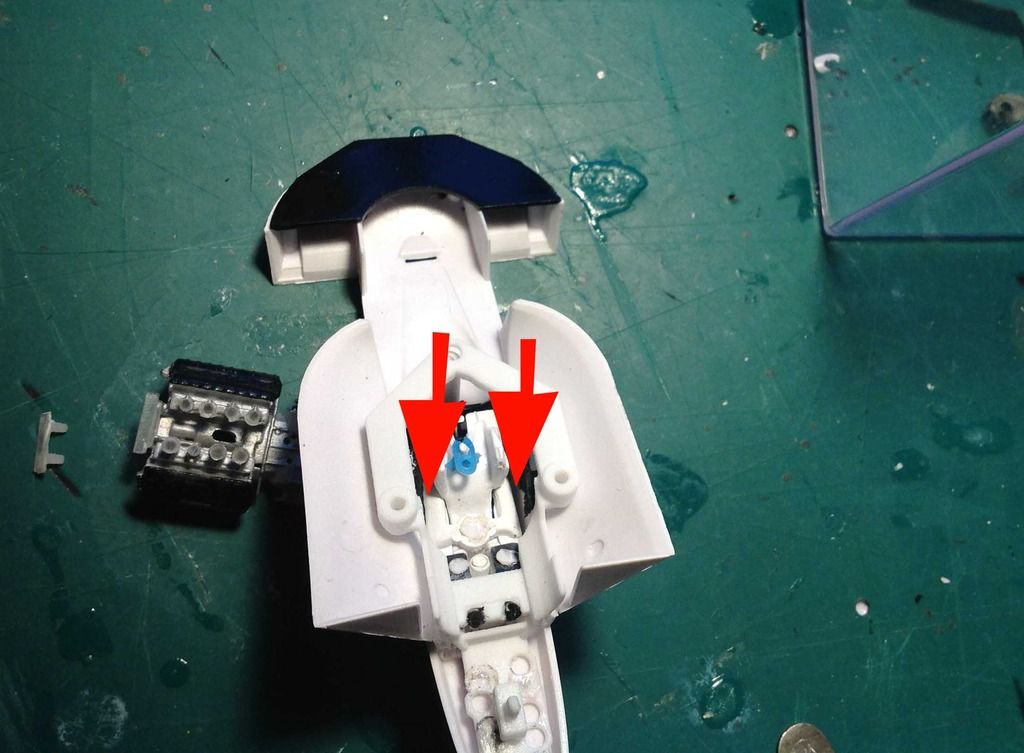
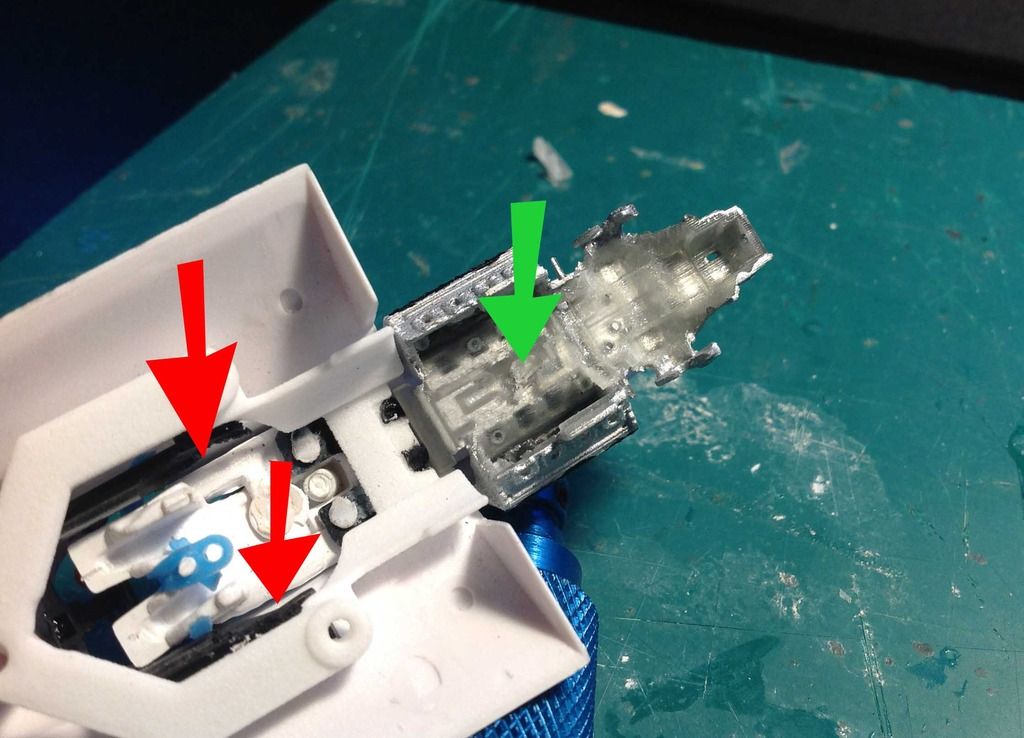
16. Now once everything sits well together and flat hold the top gearbox to the air box and take away the chassis assembly. Flip the car over and spot solder the leg from the airbox that protrudes through the bottom of the gearbox top (green arrow in the photo). (red arrows show again ho w the original body black parts need to be trimmed to get the motor to seat properly).
Reassemble all to make sure it all fits accurately. I then glued around the air intake trumpets to get everything seated well.
Rear Wing:
1. Cut the back of the motor mount and gearbox top down accurately as shown:
First trim off the detail nuts off the rear of the gearbox top and bottom.
Then cut out the top of the gearbox to allow the rear wing screw mount. This involves a sideways slot placed between 4 and 3 mm from the rear gearbox face.
Then trim out a square hole for the wing mount to slot down into accurately.
Take your time and get this right.
3. Screw all together carefully. I used a 9mm long slot.it machine screw.
Go easy when screwing through the gearbox base. Turn in and back frequently to 'cut' the thread to avoid any splitting.
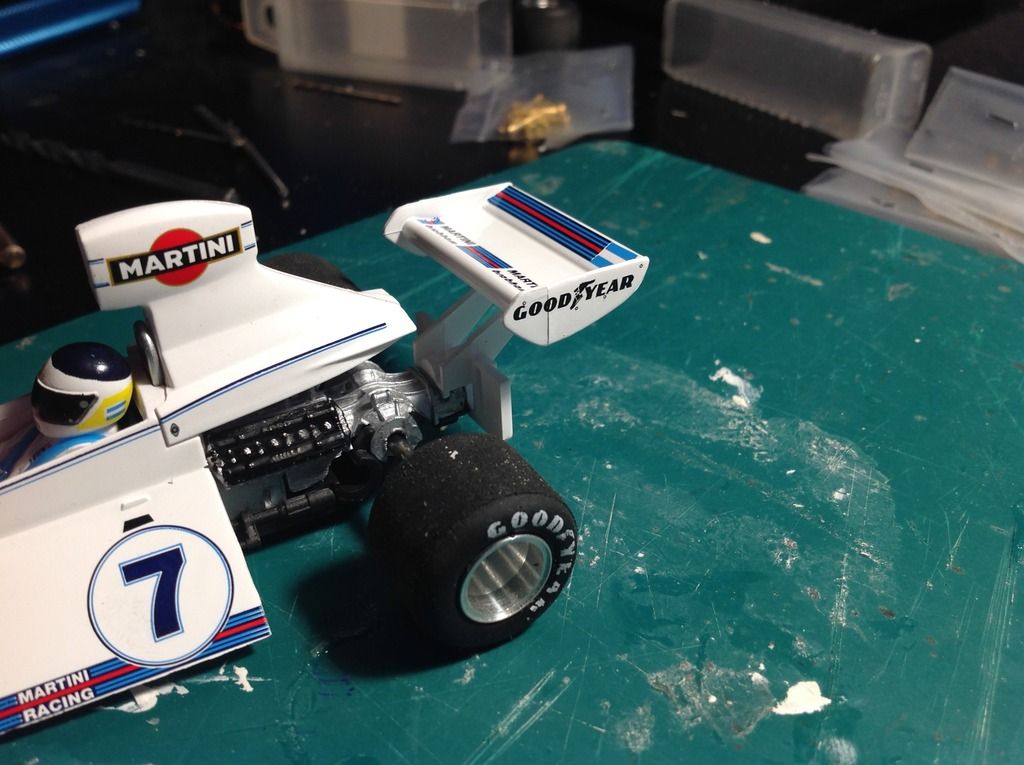
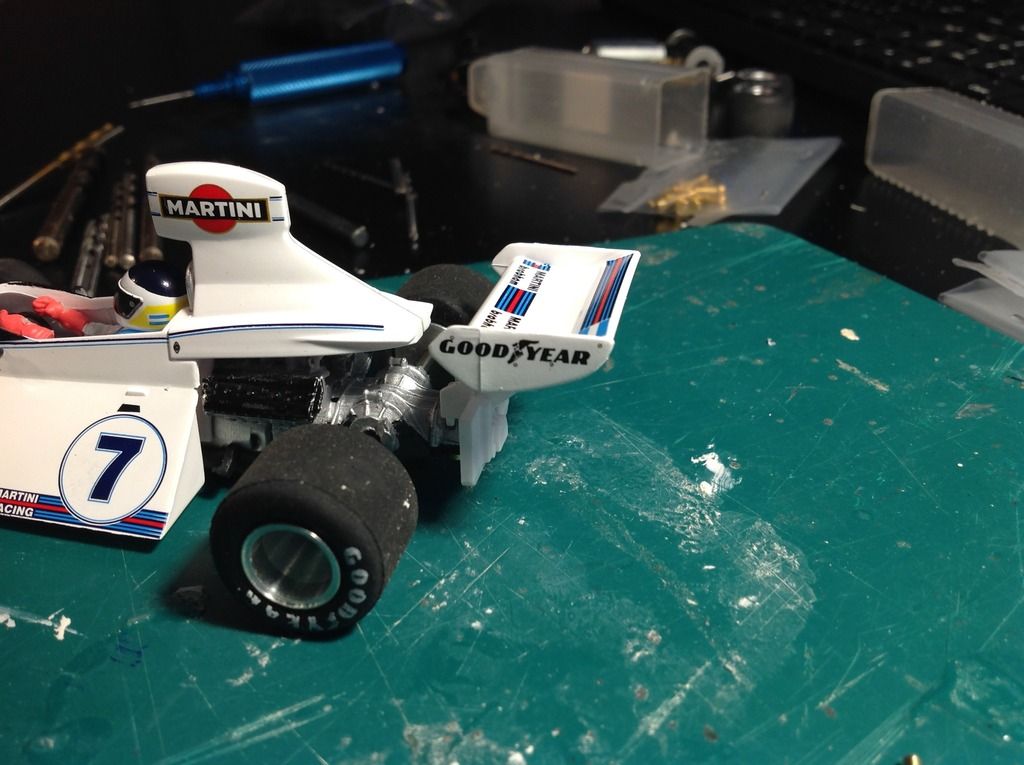
Finally:
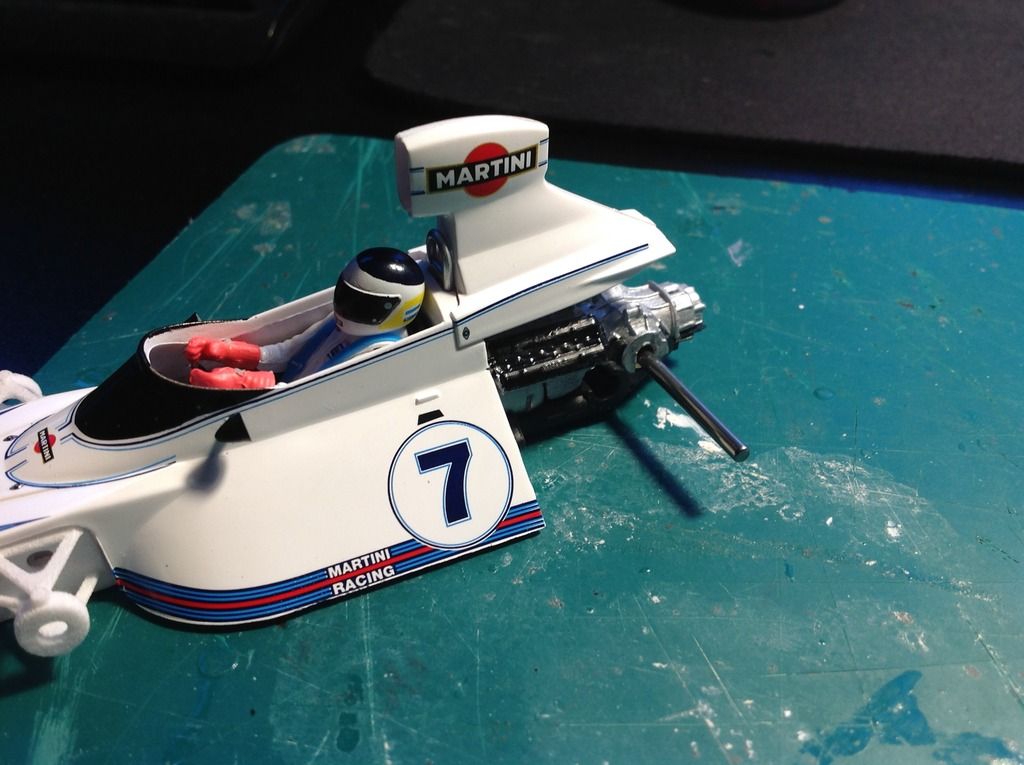
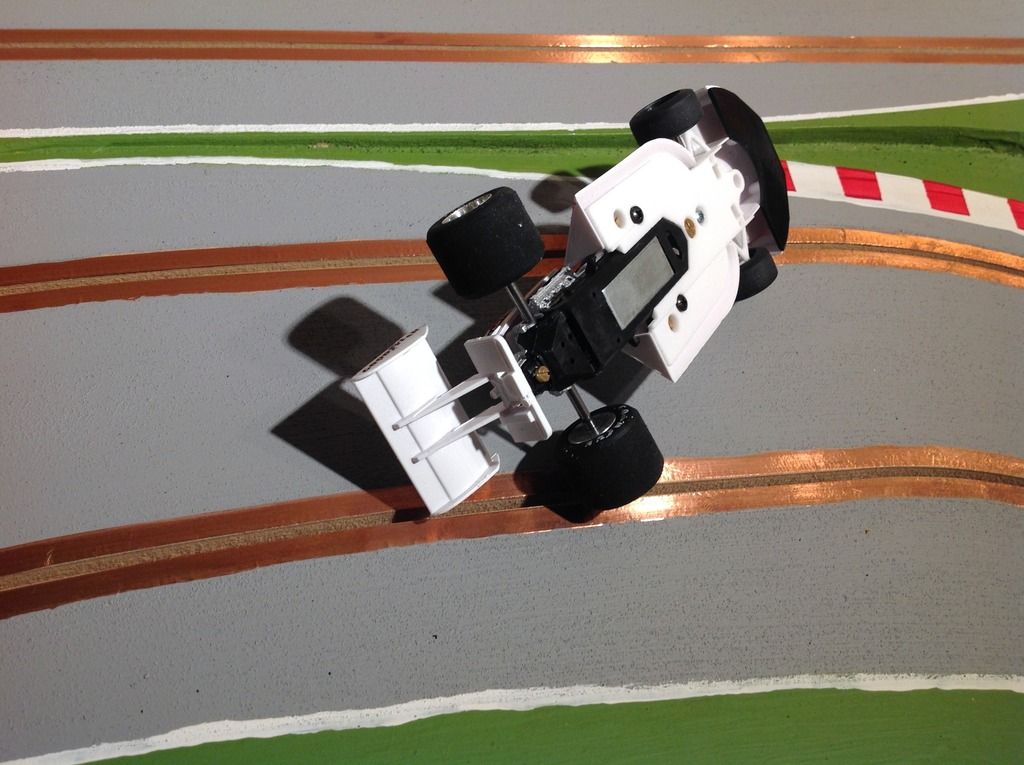
Assemble the front axle, Policar wheels, original tyres, guide and wires and its all done!
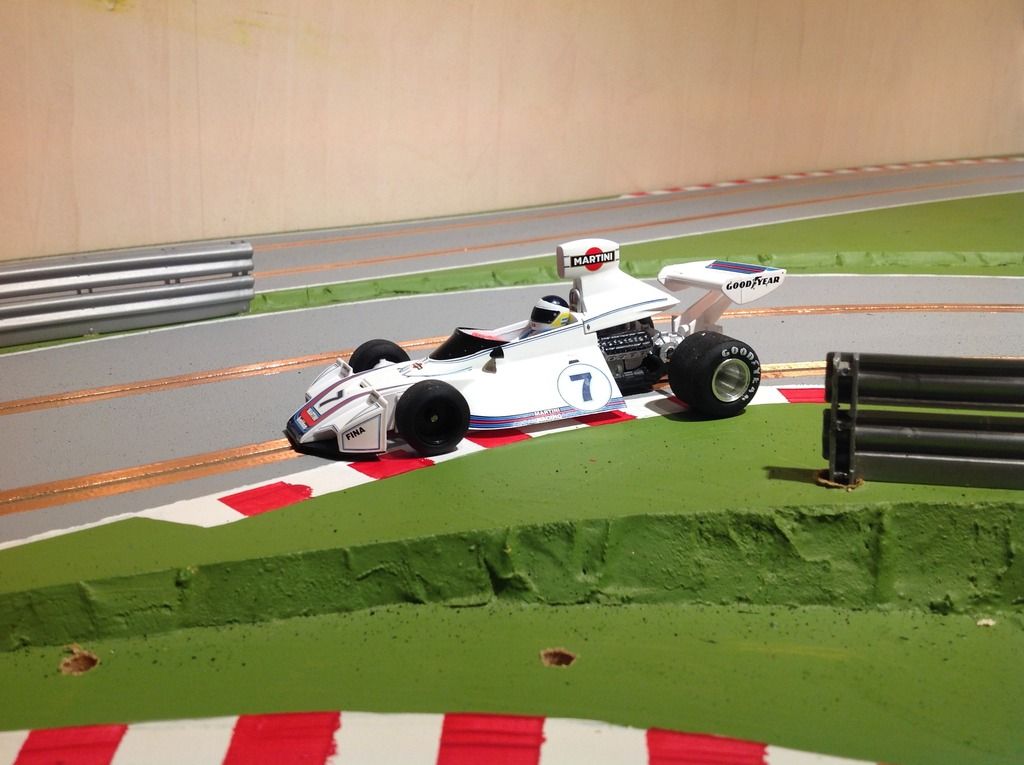
Stand back and check out this amazing looking car.
Further possibilities:
I have not but one might adapt the rear radius arms that came with the donor car and glue them above the engine. Or Policar parts such as anti-roll bars and suspension parts could be added at the rear. Or scratchbuild your own additions.....
Oh and the wheel inserts from the original model can be reused with care: