|
|
Post by David Mitcham on Nov 27, 2014 10:52:50 GMT -5
Hi Brian OK the carb intakes. I think I would first make a card or plasticard template from the plan you are using and see how that matches up to the holes you have in the shell. If the holes are too big use filler to get them smaller and to the right shape and enlarge them if the reverse is true. Then use the template to shape a piece of very thin brass strip to make the same outline - 0.8mm wide by 0.4mm thick. There is also even thinner bronze strip you can get but I haven't tried that. The shape you then have can form the rim for the mesh over the carb intakes. This needs to be glued to the body round the hole(s). If you have a look at my Cooper T81 build in the GPDd2014 thread and my thread on the Ferrari 156 Aero, you should get the idea. A good source for unusual brass sizes is Albion Metals www.sussex-model-centre.co.uk/shopexd.asp?id=29394 from the West Sussex Model Centre (although I think I got mine from a local model shop). You can get fine mesh of various sizes from www.themeshcompany.com/products/Fine-Mesh---0.5mm---0.025mm-Hole-Size.html. You'll need to make a former for shaping the mesh so that it has the right curvature and it fits neatly into the hole in the body and the rim you have made out of brass strip. All you need to do then is glue it into place. Best Regards David |
|
|
|
Post by Brian on Nov 28, 2014 9:26:29 GMT -5
Thanks David for your advice. I've sanded and filled and sanded and filled, it's slowly getting there. I have two more blemishes to sort and then the bodies done. Made the roll bar today, looks about right to me? and I started looking at the carb trumpets (need shortening). As advised I need to make a former for the mesh (Thanks again David), which I already have the mesh from my Matra build (cafetiere filter). I have ordered two other different sizes of tyres in an attempt to get the "look" correct. I think next I will look at the exhaust and suspension detail. In between panting the car. Drivers bodies going to be difficult as there's not much room, I have a BWA body, but it's to big. May have to cut it down. I also have a couple of BWA heads. I also need to source a larger steering wheel. I have some mirrors I think I can adjust to suit. I think I can get the decals from Pattos. Anyway here's some pics from today. 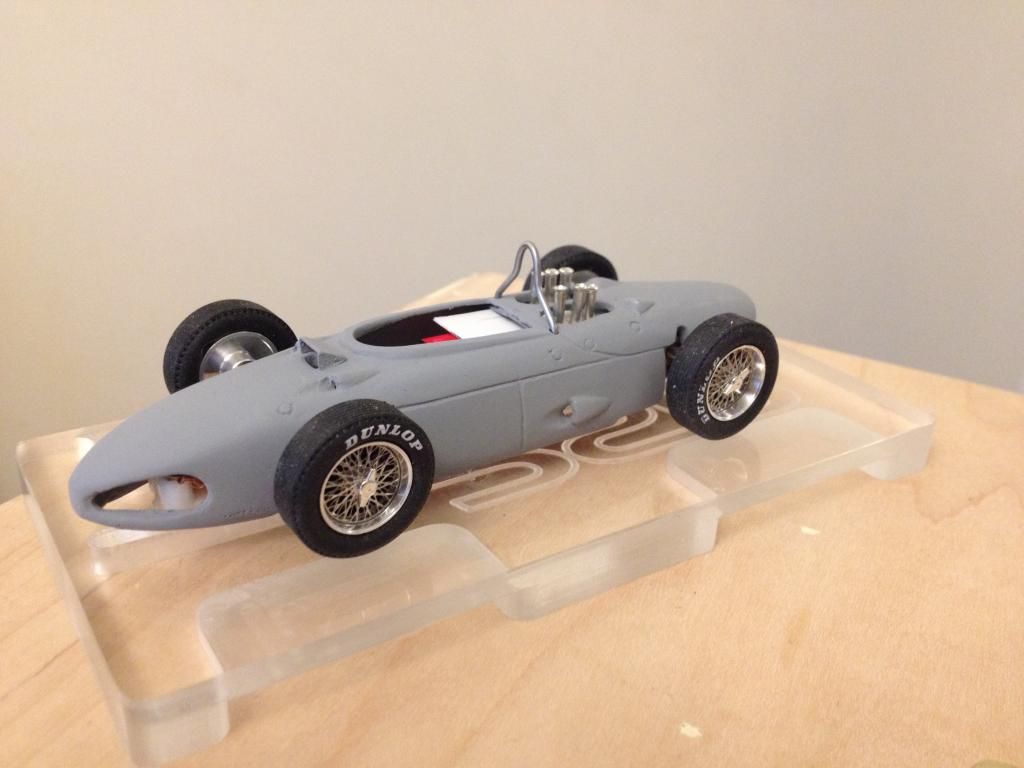 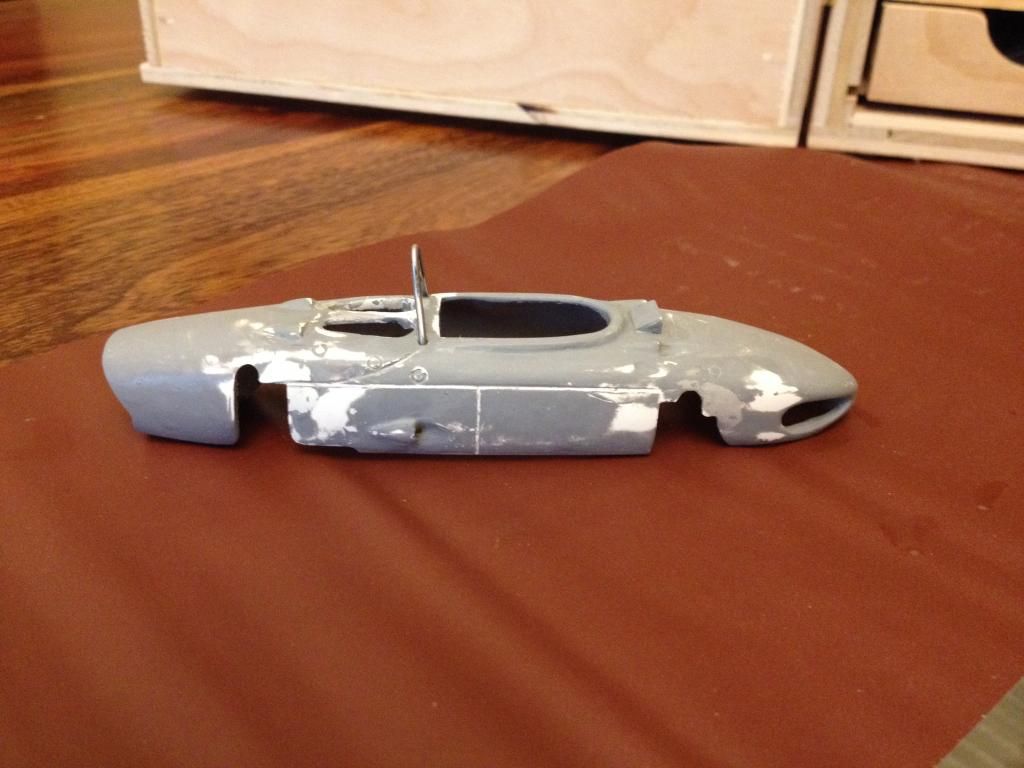  Cheers, Brian |
|
|
|
Post by David Mitcham on Nov 28, 2014 9:44:17 GMT -5
Hi Brian Coming along very nicely, I think you've captured the look of the Sharknose very well. For drivers I suggest you look at the Immense Miniatures site: www.immenseminiatures.com/products.html I'm sure you could at least get the sort of head you want. I find the Graham Hill full driver body works well in most cars although you may need to shorten the arms and legs a bit. As for Ferrari decals try the Pendle site: www.pendleslotracing.co.uk as they have their own Ferrari decals with the right sort of numbers and badges - look under spare/decals/Pendle Slot Racing Decals - reference PSRD02. Best Regards David |
|
|
|
Post by Mark Huber on Nov 28, 2014 11:38:54 GMT -5
Brian, You may want to try the shorter driver 'tray' also from Immense Miniatures. F-026-32   |
|
|
|
Post by David Lawson on Nov 28, 2014 15:10:56 GMT -5
Brian
The sharknose is really starting to look very nice.
What I like about these £6 Charlie Fitzpatrick bodyshells is the sense of achievement you get from refining and improving the shell to produce a very nice slot car. As good as a George Turner or a Penelope Pitlane kit is at five times the price of a "Classic" the sense of satisfaction just isn't the same.
David
|
|
|
|
Post by Brian on Nov 28, 2014 15:19:55 GMT -5
Cheers Chaps, I've put an order in for both. I'm also going to order the decals from Pendles, there are other decals I'm going to purchase from them too. Brian 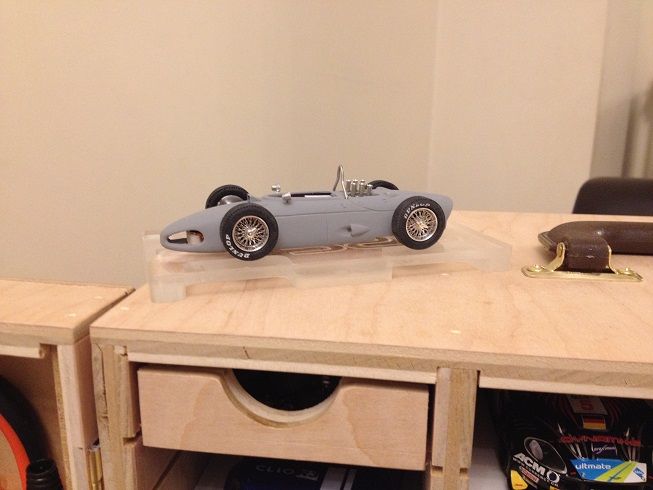 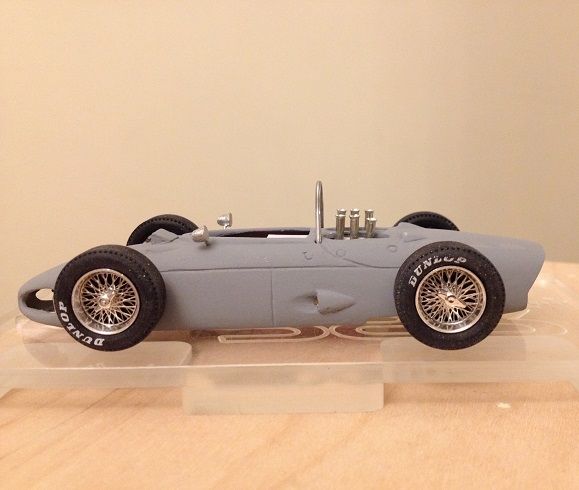 |
|
|
|
Post by Mark Huber on Nov 29, 2014 16:25:03 GMT -5
Brian The sharknose is really starting to look very nice. What I like about these £6 Charlie Fitzpatrick bodyshells is the sense of achievement you get from refining and improving the shell to produce a very nice slot car. As good as a George Turner or a Penelope Pitlane kit is at five times the price of a "Classic" the sense of satisfaction just isn't the same. David David took the words right out of my mouth. There is something very satisfying about refining a shell versus starting out with a near perfect model (with all due respect to George Turner, PP and Dave Jones), When I was deciding what to build for the GPd2014, I had an excellent Prewing Ferrari 312 kit in hand, but chose to go with a battered and bruised John Bacon shell. I'm not sure that the final result was as pristine as the Prewing model, but I certainly had a lot of fun along the way. One of my New Year's resolutions (not that I do that sort of thing) should be to carve a shell from balsa. I know my initial efforts would be a far cry from the very nice shells that are available from a variety of craftsmen, but it has to be a load of fun. But I digress. Brian, you've done a great job transforming that Classic shell. |
|
|
|
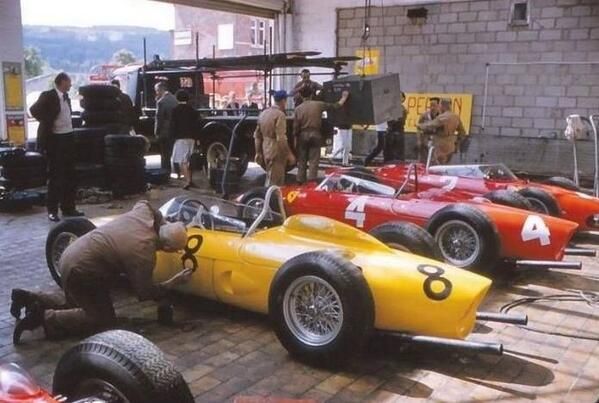
Post by Chris Wright on Nov 29, 2014 17:39:50 GMT -5
Looking good Brian, you may find this photo useful: 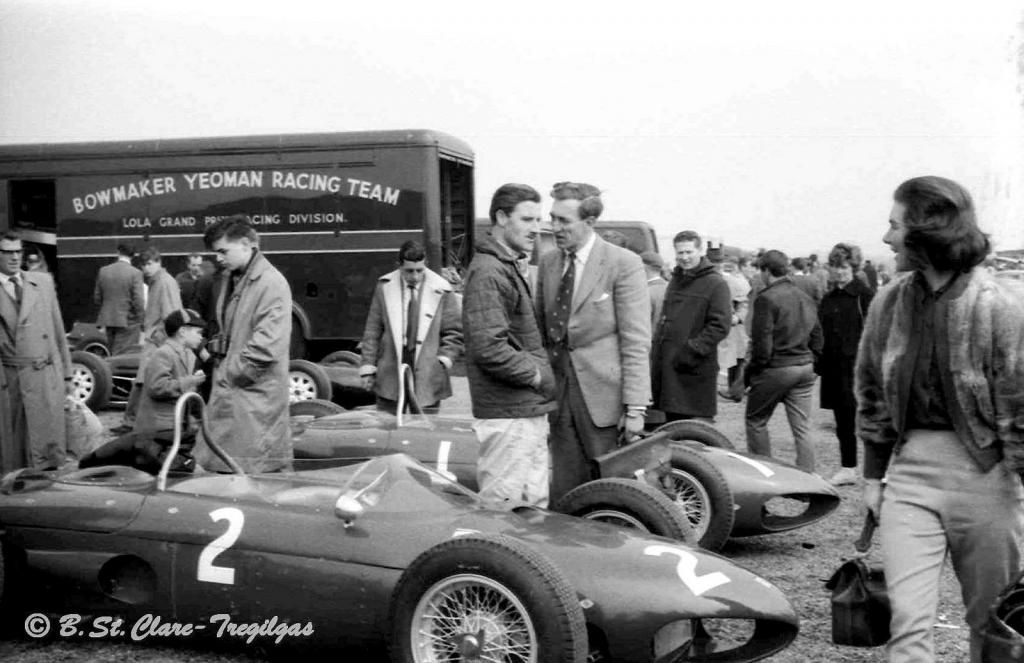 |
|
|
|
Post by Dave Wisdom on Nov 30, 2014 2:24:27 GMT -5
Brian brought his Ferrari to the club last week. Its really taking shape and will look great in our 2015 pre-wing F1 class (I'm assuming you'll be happy to trade paint with a few other classic single seaters on club nights Brian..!) www.youtube.com/watch?v=PgYuRQZrxQ4Dave |
|
|
|
Post by Brian on Dec 1, 2014 13:04:54 GMT -5
Cheer Dave, The amount of hours I'm racking up with this car, I don't know if I'll have the stomach to race it. We'll see............ Spent the last two days refining the body. I have rubbed this car down many times now. Just when I think it's there, I prime it and see more flaws. My soldering skills are very poor, even with my new gas iron. Been working on the exhausts today, well one of them. Please see photo's, needs tidying up and a flare on the end. Also added three ear spinners to the wheels. Yeah, it was a V8 for about 20 minutes before I realized my error! 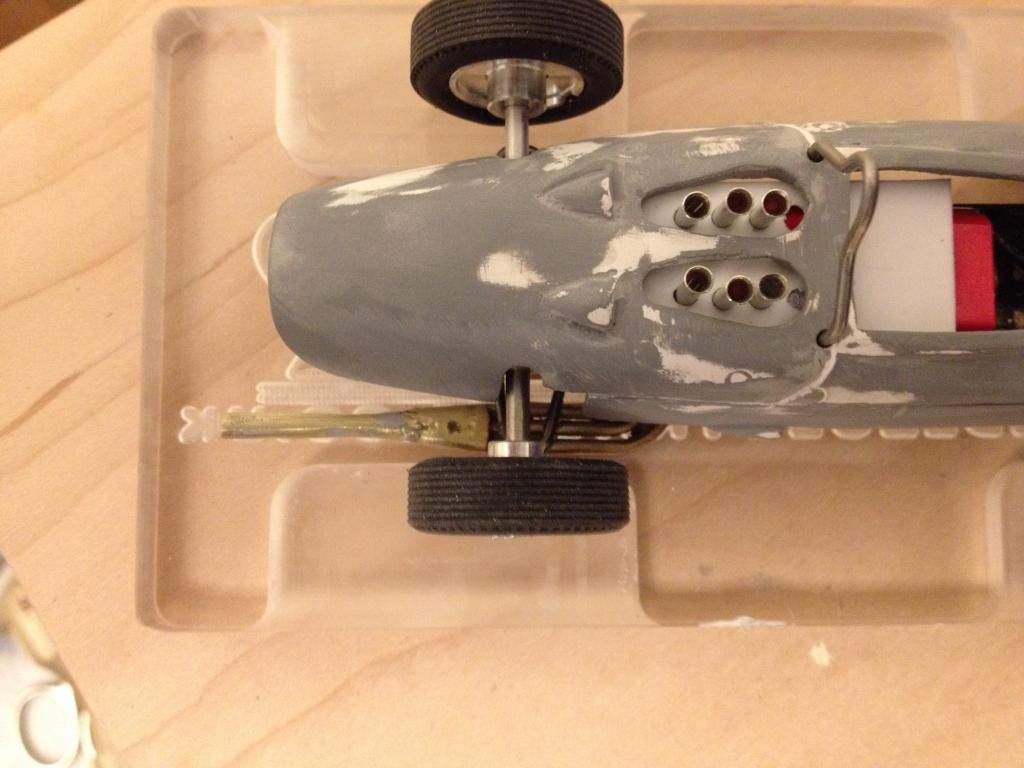 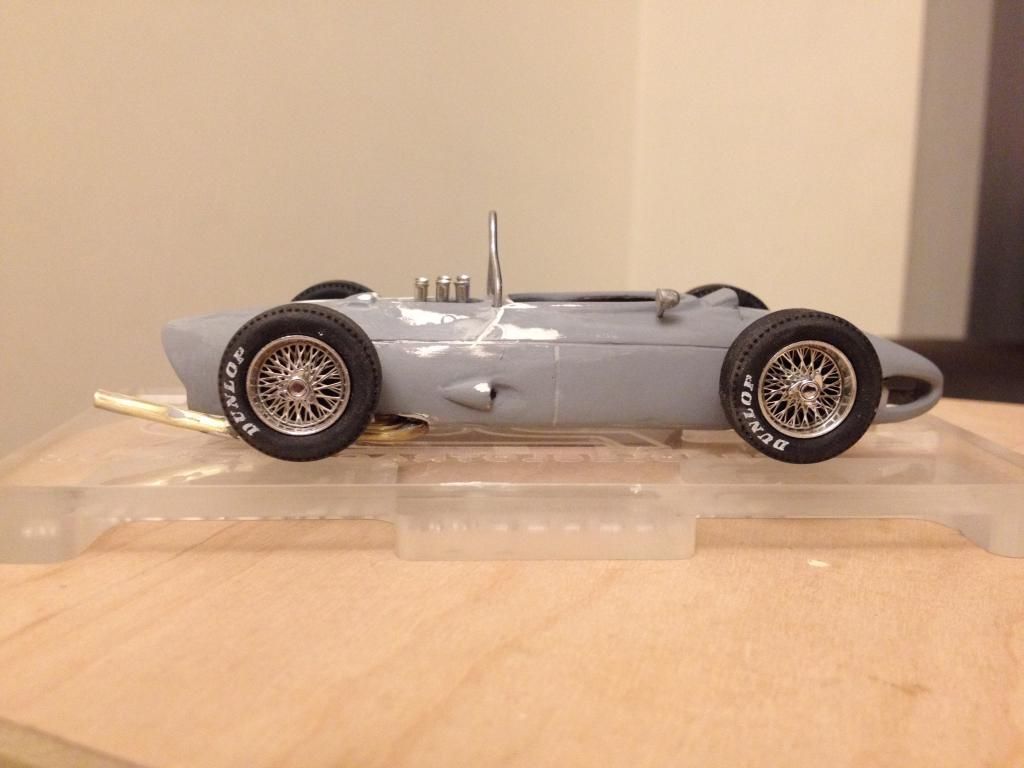 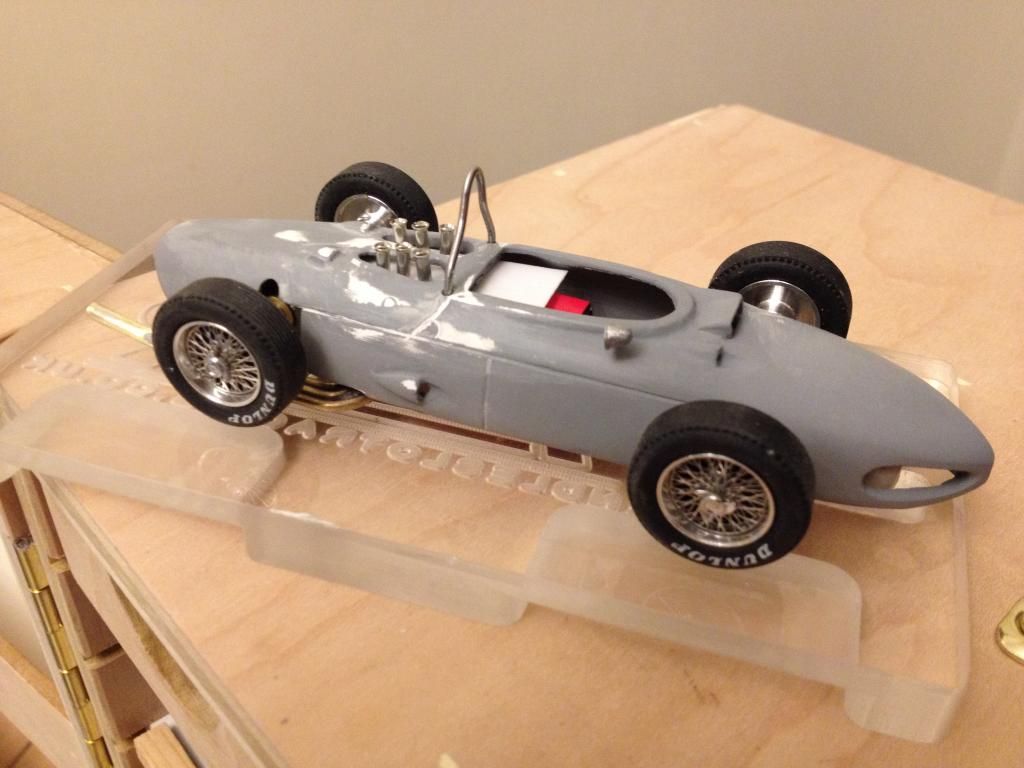 |
|
|
|
Post by David Lawson on Dec 2, 2014 2:40:07 GMT -5
As I've said on Embers Lotus 24 thread and I'll repeat it here on Brian's, I love this type of work in progress posting as it shows the time, difficulties and the effort that goes into a build. It is also brave to post "live" while you are still overcoming difficulties and learning techniques rather than showing it all from the safety of the finished slot car. Reading Embers and Brian's threads together covers every aspect of building a Halftonner.
This last post by Brian illustrates just how much time is spent on getting the shell to the point you are happy with and ready to paint. Once painted no one realises just how much was involved and it all counts for nothing to the casual concours scorer....
The exhausts look like a nice piece of construction, as we all know this is one of the trickiest parts of a build, what have you used for the manifolds please?
If I may make a comment if you don't mind me butting in, I would check reference pictures to set the height of the engine intakes, at the moment they look a little on the tall side to me.
David |
|
|
|
Post by Brian on Dec 2, 2014 2:57:34 GMT -5
Thanks for positive comments David.
The manifolds are boot lace ferrules. I have not decided on the height of the intakes as of yet. I am going to make a former(thanks David M) for the mesh and sort the ride height out prior to shortening manifolds.
The exhaust took me many of frustrating hours to construct. Do you think the bore is too big?
Brian
|
|
|
|
Post by Brian on Dec 2, 2014 13:03:23 GMT -5
Time to call it a night, my fingers are very sore. 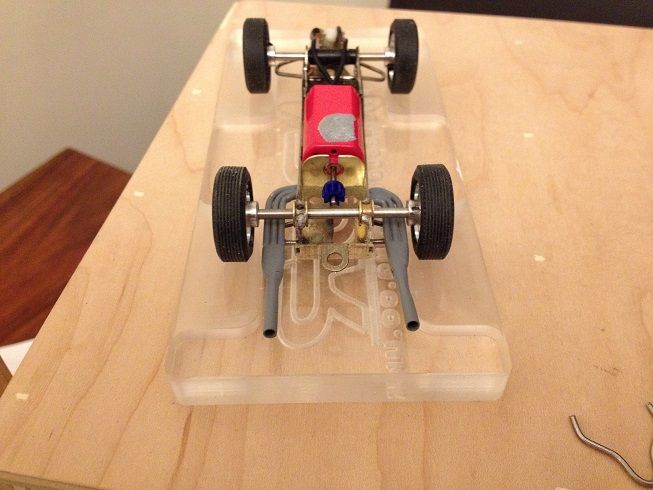 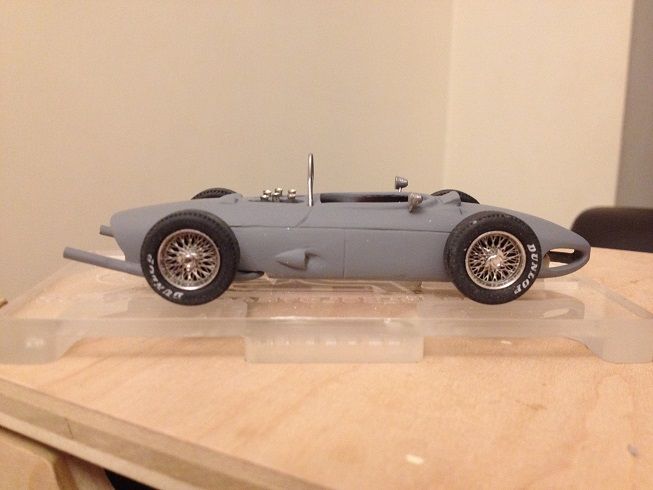  The body is not sitting quite right on the chassis, so a little adjustment required. One of the exhaust is a little rough, so at a later date I will manufacture another. Driver and decals are on order. Paint is on the table. This has been an all consuming build. With every build I'm learning and I'm slowly improving. I will paint when I'm happy with how the driver and shell sits on the chassis. Driver is on his way from the USA, lets hope he has not got jet lag when he arrives. Cheers. Brian |
|
|
|
Post by David Lawson on Dec 2, 2014 14:37:27 GMT -5
Thanks for positive comments David. The manifolds are boot lace ferrules. I have not decided on the height of the intakes as of yet. I am going to make a former(thanks David M) for the mesh and sort the ride height out prior to shortening manifolds. The exhaust took me many of frustrating hours to construct. Do you think the bore is too big? Brian
Brian
This picture shows the exhaust tailpipes really well
I hope you find it useful
David
|
|
|
|
Post by Brian on Dec 11, 2014 11:46:55 GMT -5
Hi folks, Latest update. I made a wooden former out of a dowel, to form the intake meshes. Caused a little damage when I fitted it the first time. See pic. I reworked the chassis again as I had the wheelbase incorrect, (Gives a longer rear tail). I have also shaved the sidewalls of the rear tyres with my Hudy. Waiting for the driver to arrive from Immense Miniatures to get fit right prior to painting. I have decals and intend having ago at making some rear struts. 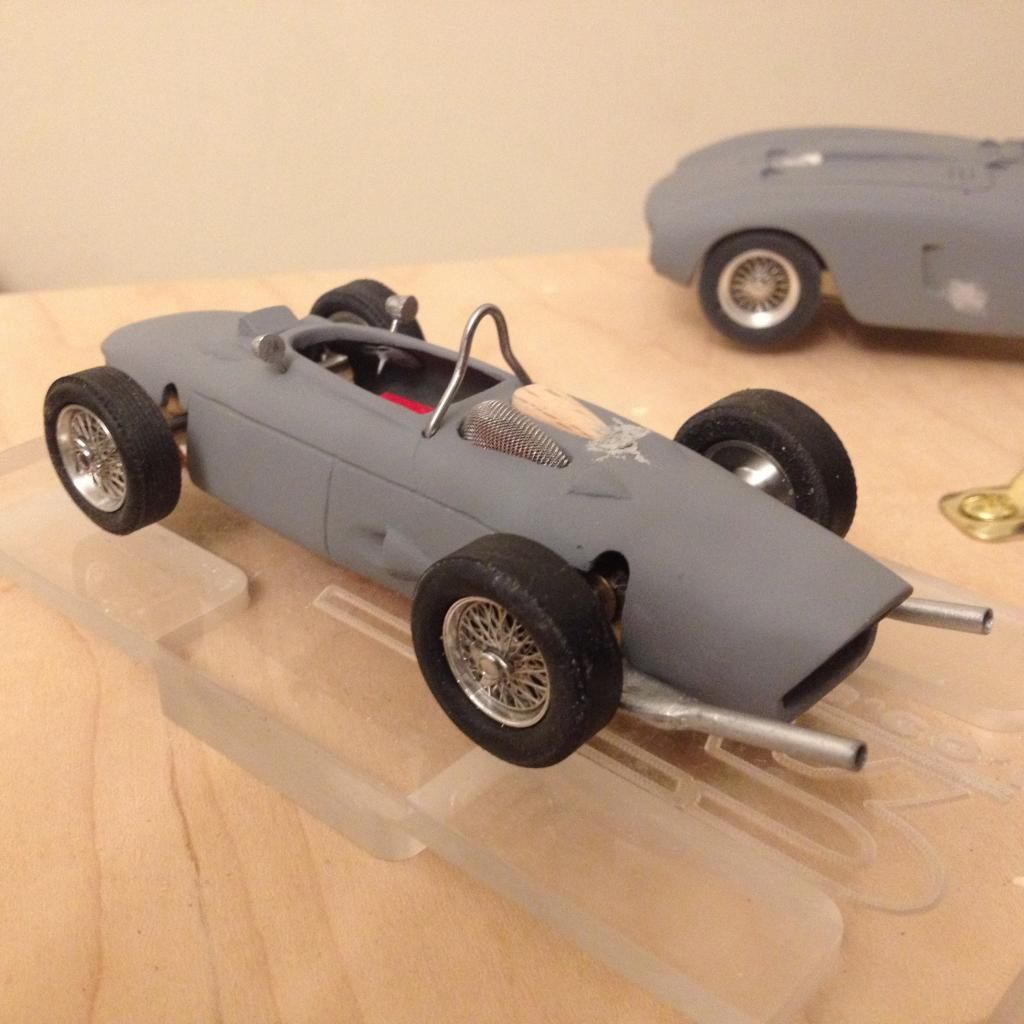 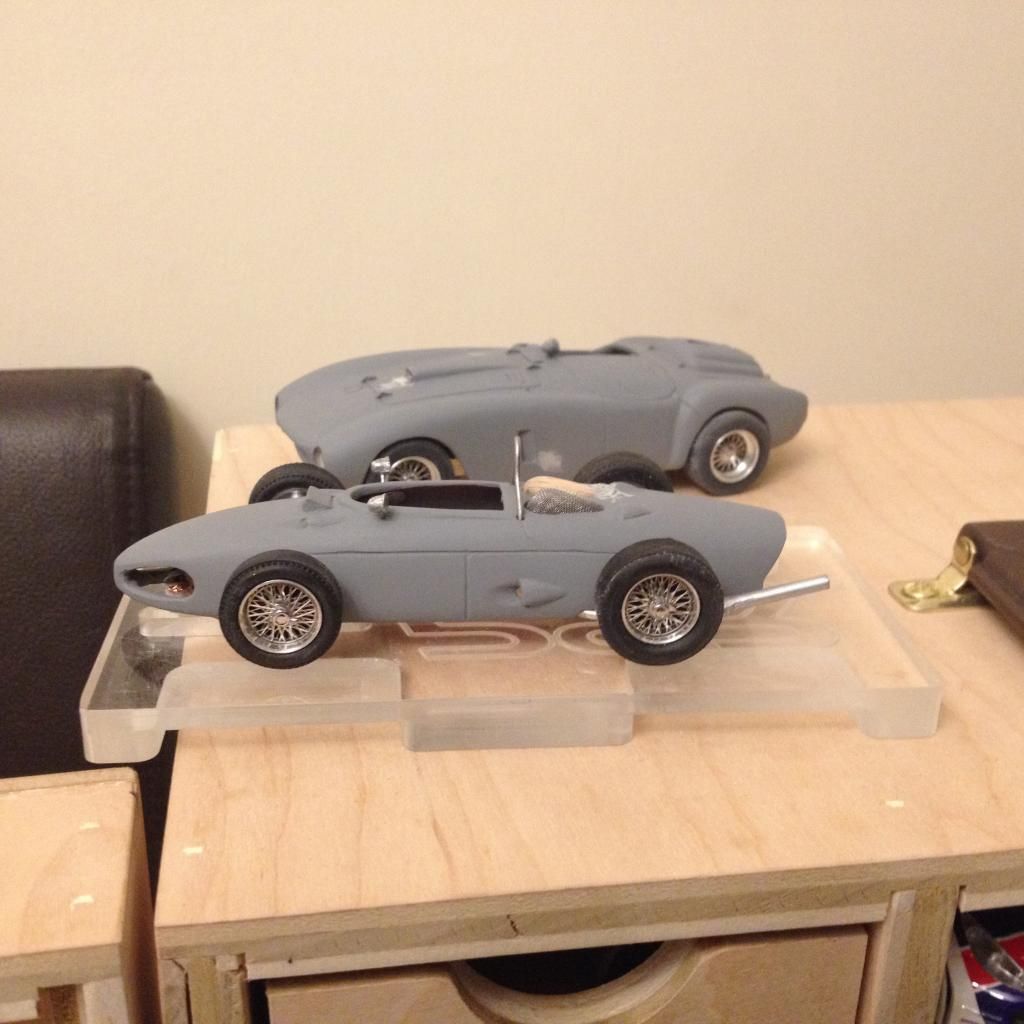 Cheers. Brian |
|


